A beginner's guide to deploying LLMs with AMD on Windows using PyTorch - AMD GPUOpen
A beginner's guide to deploying LLMs with AMD on Windows using PyTorch
Originally posted:

Warren Eng

Sheen Lam

Alexander Blake-Davies
If you’re interested in deploying advanced AI models on your local hardware, leveraging a modern AMD GPU or APU can provide an efficient and scalable solution. You don’t need dedicated AI infrastructure to experiment with Large Language Model (LLMs); a capable Microsoft® Windows® PC with PyTorch installed and equipped with a recent AMD graphics card is all you need.
PyTorch for AMD on Windows and Linux is now available as a public preview. You can now use native PyTorch for AI inference on AMD Radeon™ RX 7000 and 9000 series GPUs and select AMD Ryzen™ AI 300 and AI Max APUs, enabling seamless AI workload execution on AMD hardware in Windows without any need for workarounds or dual-boot configurations. If you are new and just getting started with AMD ROCm™, be sure to check out our getting started guides here.
This guide is designed for developers seeking to set up, configure, and execute LLMs locally on a Windows PC using PyTorch with an AMD GPU or APU. No previous experience with PyTorch or deep learning frameworks is needed.
What you’ll need (the prerequisites)
- The currently supported AMD platforms and hardware for PyTorch on Windows are listed here:
| AMD Radeon™ AI PRO R9700 | AMD Radeon™ RX 7900 XTX | AMD Radeon™ PRO W7900 | AMD Ryzen™ AI Max+ 395 |
| AMD Radeon™ RX 9070 XT | AMD Radeon™ PRO W7900 Dual Slot | AMD Ryzen™ AI Max 390 | |
| AMD Radeon™ RX 9070 | AMD Ryzen™ AI Max 385 | ||
| AMD Radeon™ RX 9060 XT | AMD Ryzen™ AI 9 HX 375 | ||
| AMD Ryzen™ AI 9 HX 370 | |||
| AMD Ryzen™ AI 9 365 |
- OS Supported: Microsoft® Windows® 11
- AMD Software: PyTorch on Windows Preview Edition 25.20.01.14 driver
- Python 3.12 - Python Release Python 3.12.0 | Python.org
- During the Python installation, make sure to check the box that says “Add Python to PATH”
Part 1: Setting up your workspace
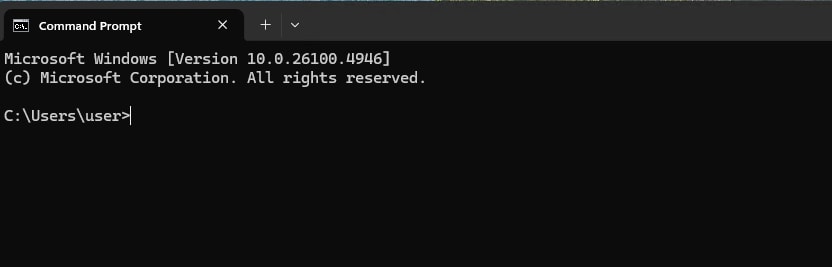
Step 1: Open the Command Prompt
First, we need to open the Command Prompt
- Click the Start Menu, type
cmd, and press Enter. A black terminal window will pop up.
Step 2: Create and activate a virtual environment
A “virtual environment” is like a clean, empty sandbox for a Python project.
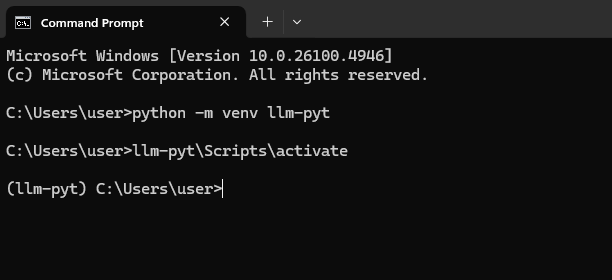
In your Command Prompt, type the following command and press Enter. This creates a new folder named llm-pyt that will house our project.
python -m venv llm-pyt
Next, we need to “activate” this environment. Think of this as stepping inside the sandbox.
llm-pyt\Scripts\activate
You’ll know it worked because you’ll see (llm-pyt) appear at the beginning of your command line prompt.
Step 3: Install PyTorch and other essential libraries
Now we’ll install the software libraries that do the heavy lifting. The most important one is PyTorch, an open-source framework for building and running AI models. We need a special version of PyTorch built to work with AMD’s ROCm technology.
We will also install Transformers and Accelerate, two libraries from Hugging Face that make it incredibly easy to download and run state-of-the-art AI models.
Run the following command in your activated Command Prompt. This command tells Python’s package installer (pip) to download and install PyTorch for ROCm, along with the other necessary tools.
pip install --no-cache-dir https://repo.radeon.com/rocm/windows/rocm-rel-6.4.4/torch-2.8.0a0%2Bgitfc14c65-cp312-cp312-win_amd64.whl
pip install --no-cache-dir https://repo.radeon.com/rocm/windows/rocm-rel-6.4.4/torchaudio-2.6.0a0%2B1a8f621-cp312-cp312-win_amd64.whl
pip install --no-cache-dir https://repo.radeon.com/rocm/windows/rocm-rel-6.4.4/torchvision-0.24.0a0%2Bc85f008-cp312-cp312-win_amd64.whl
pip install transformers accelerate
Part 2: Putting your new LLM setup to the test
The moment of truth. Let’s give our new setup a task: running a small but powerful language model called Llama 3.2 1B.
Step 1: Launch the interactive Python session
Make sure your Command Prompt still has the (llm-pyt) environment active. If you closed it, just re-open cmd and run llm-pyt\Scripts\activate.
Now, start Python:
python
Step 2: Run the language model
Copy the entire code block below. Paste it into your Python terminal (where you see the >>>) and press Enter.
The first time you do this, it will download the model (which is a few gigabytes), so it may take several minutes. Subsequent runs will be much faster.
import torch
from transformers import pipeline
model_id = "unsloth/Llama-3.2-1B-Instruct"
pipe = pipeline(
    "text-generation",
    model=model_id,
    dtype=torch.float16,
    device_map="auto"
)
pipe("The key to life is")
You should see an output similar to this:
[{'generated_text': 'The key to life is not to get what you want, but to give what you have.
The best way to make life more meaningful is to practice gratitude, and to cultivate a sense
of contentment with what you have. If you want to make life more interesting, you must be
willing to take risks, and to embrace the unknown. The best way to avoid disappointment is
to be patient and persistent, and to trust in the process. By following these principles,
you can live a more fulfilling life, and make the most of the time you have.'}]
You can return to your command prompt by typing exit() and pressing Enter.
exit()
Level Up: Create an interactive AI chatbot
Running a single prompt is fun, but a real conversation is better. In this section, we’ll create an interactive chat loop that “remembers” the conversation, allowing you to have a back-and-forth with the AI.
Step 1: Create the chatbot script
- Open a new file in your text editor.
- Copy and paste the chatbot code below.
import torch
from transformers import pipeline

print("Loading chat model...")

model_id = "unsloth/Llama-3.2-1B-Instruct"
pipe = pipeline(
    "text-generation",
    model=model_id,
    dtype=torch.float16,
    device_map="auto",
)

# This list will store our conversation history
messages = []

print("\nChatbot ready! Type 'quit' or 'exit' to end the conversation.")
print("-" * 20)

while True:
    # Get input from the user
    user_input = input("You: ")

    # Check if the user wants to exit
    if user_input.lower() in ["quit", "exit"]:
        print("Chat session ended.")
        break

    # Add the user's message to the conversation history
    messages.append({"role": "user", "content": user_input})

    # Generate the AI's response using the full conversation history
    outputs = pipe(messages, max_new_tokens=500, do_sample=True, temperature=0.7)

    # The pipeline returns the full conversation. The last message is the new one.
    assistant_response = outputs[0]['generated_text'][-1]['content']

    # Add the AI's response to our history
    messages.append({"role": "assistant", "content": assistant_response})

    # Print just the AI's new response
    print(f"AI: {assistant_response}")
- Save this new file as
run_chat.pyin the same user folder.
Step 2: Run your chatbot
In your Command Prompt, run the new script:
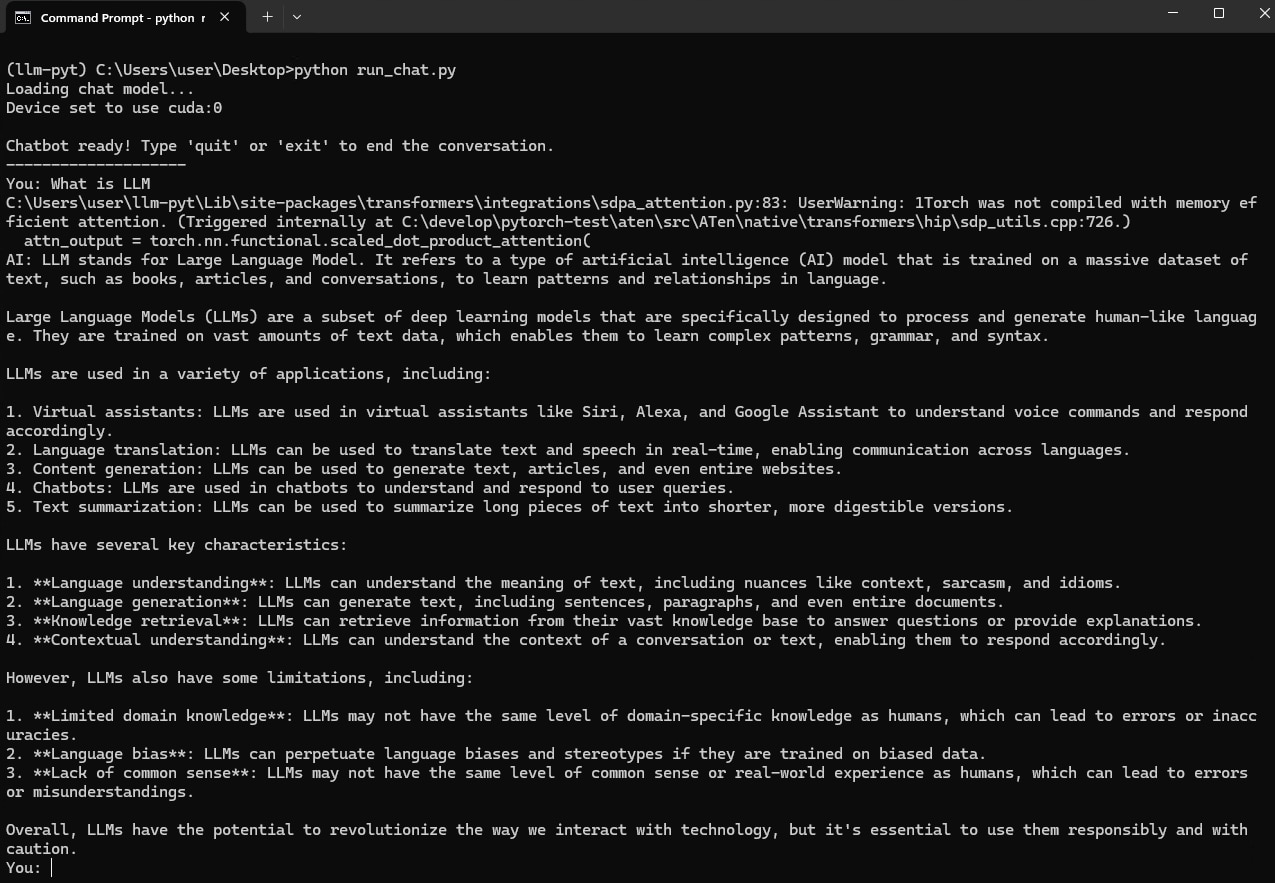
python run_chat.py
The terminal will now prompt you with You:. Type a question and press Enter. The AI will respond, and you can ask follow-up questions. The chatbot will remember the context of the conversation.
Note:
When you run the LLM, you will see a warning message like this:
UserWarning: 1Torch was not compiled with memory efficient attention.
(Triggered internally at C:\develop\pytorch-test\aten\src\ATen\native\transformers\hip\sdp_utils.cpp:726.)
Don’t worry, this is expected, and your code is working correctly!
What it means in simple terms: PyTorch 2.0+ introduced a feature called “Memory-Efficient Attention” to speed things up. The current version of PyTorch for AMD on Windows doesn’t include this specific optimization out-of-the-box. When PyTorch can’t find it, it prints this warning and automatically falls back to the standard, reliable method.
Summary
By following this blog, you should be able to get started with running transformer-based LLMs with PyTorch on Windows using AMD consumer graphics hardware.
You can learn more about our road to AMD ROCm on Radeon for Windows and Linux in the blog from Andrej Zdravkovic, SVP and AMD Chief Software Officer, here.
View endnotes PyTorch, the PyTorch logo and any related marks are trademarks of The Linux Foundation.
Windows is a trademark of the Microsoft group of companies.
Warren Eng
Warren Eng is a Product Marketing Manager at AMD. During his time here, he has done technical marketing for consumer graphics, product marketing for workstation and datacenter products, managed a team of software marketing experts responsible for features like FSR 4, and currently owns product marketing for our AMD Ryzen processors for gamers and enthusiasts. On his free time he likes to travel and explore with his family, eat good food or relax on the couch watching Star Trek.
Sheen Lam
Sheen Lam is a member of technical staff at AMD, working on ROCm on Radeon. Prior to that, he worked on Cloud and Virtualization products.
Alexander Blake-Davies
Alexander Blake-Davies is a Senior Software Product Marketing Specialist for AMD Developer Programs.
Related news and technical articles
[
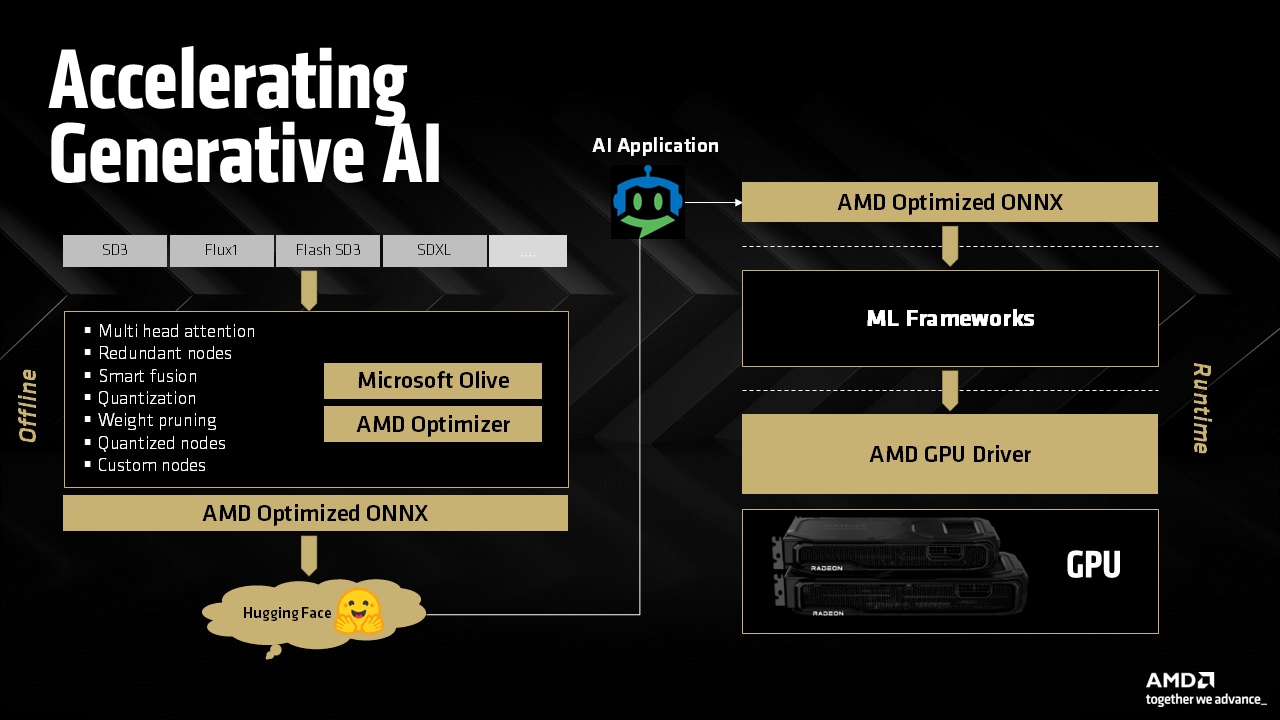
Discover AMD-optimized ONNX models on Hugging Face for AMD Ryzen™ AI APUs and Radeon™ GPUs and incredible performance with the AMD Radeon RX 9000 Series' advanced AI accelerators.
[
If you're a graphics dev looking to understand more about deep learning, this blog introduces the basic principles in a graphics dev context.

[
The machine learning ecosystem is quickly exploding and this article is designed to assist data scientists/ML practitioners get their machine learning environments up and running on AMD GPUs.
[
MPI is the de facto standard for inter-process communication in High-Performance Computing. This post will guide you through the process of setting up an MPI application that supports execution on GPU clusters.
[
Installation of the AMD ROCm™ software package can be challenging. This introductory material shows how to install ROCm on a workstation with an AMD GPU card that supports the AMD GFX9 architecture.